How To Apply Silly George Magnetic Lashes
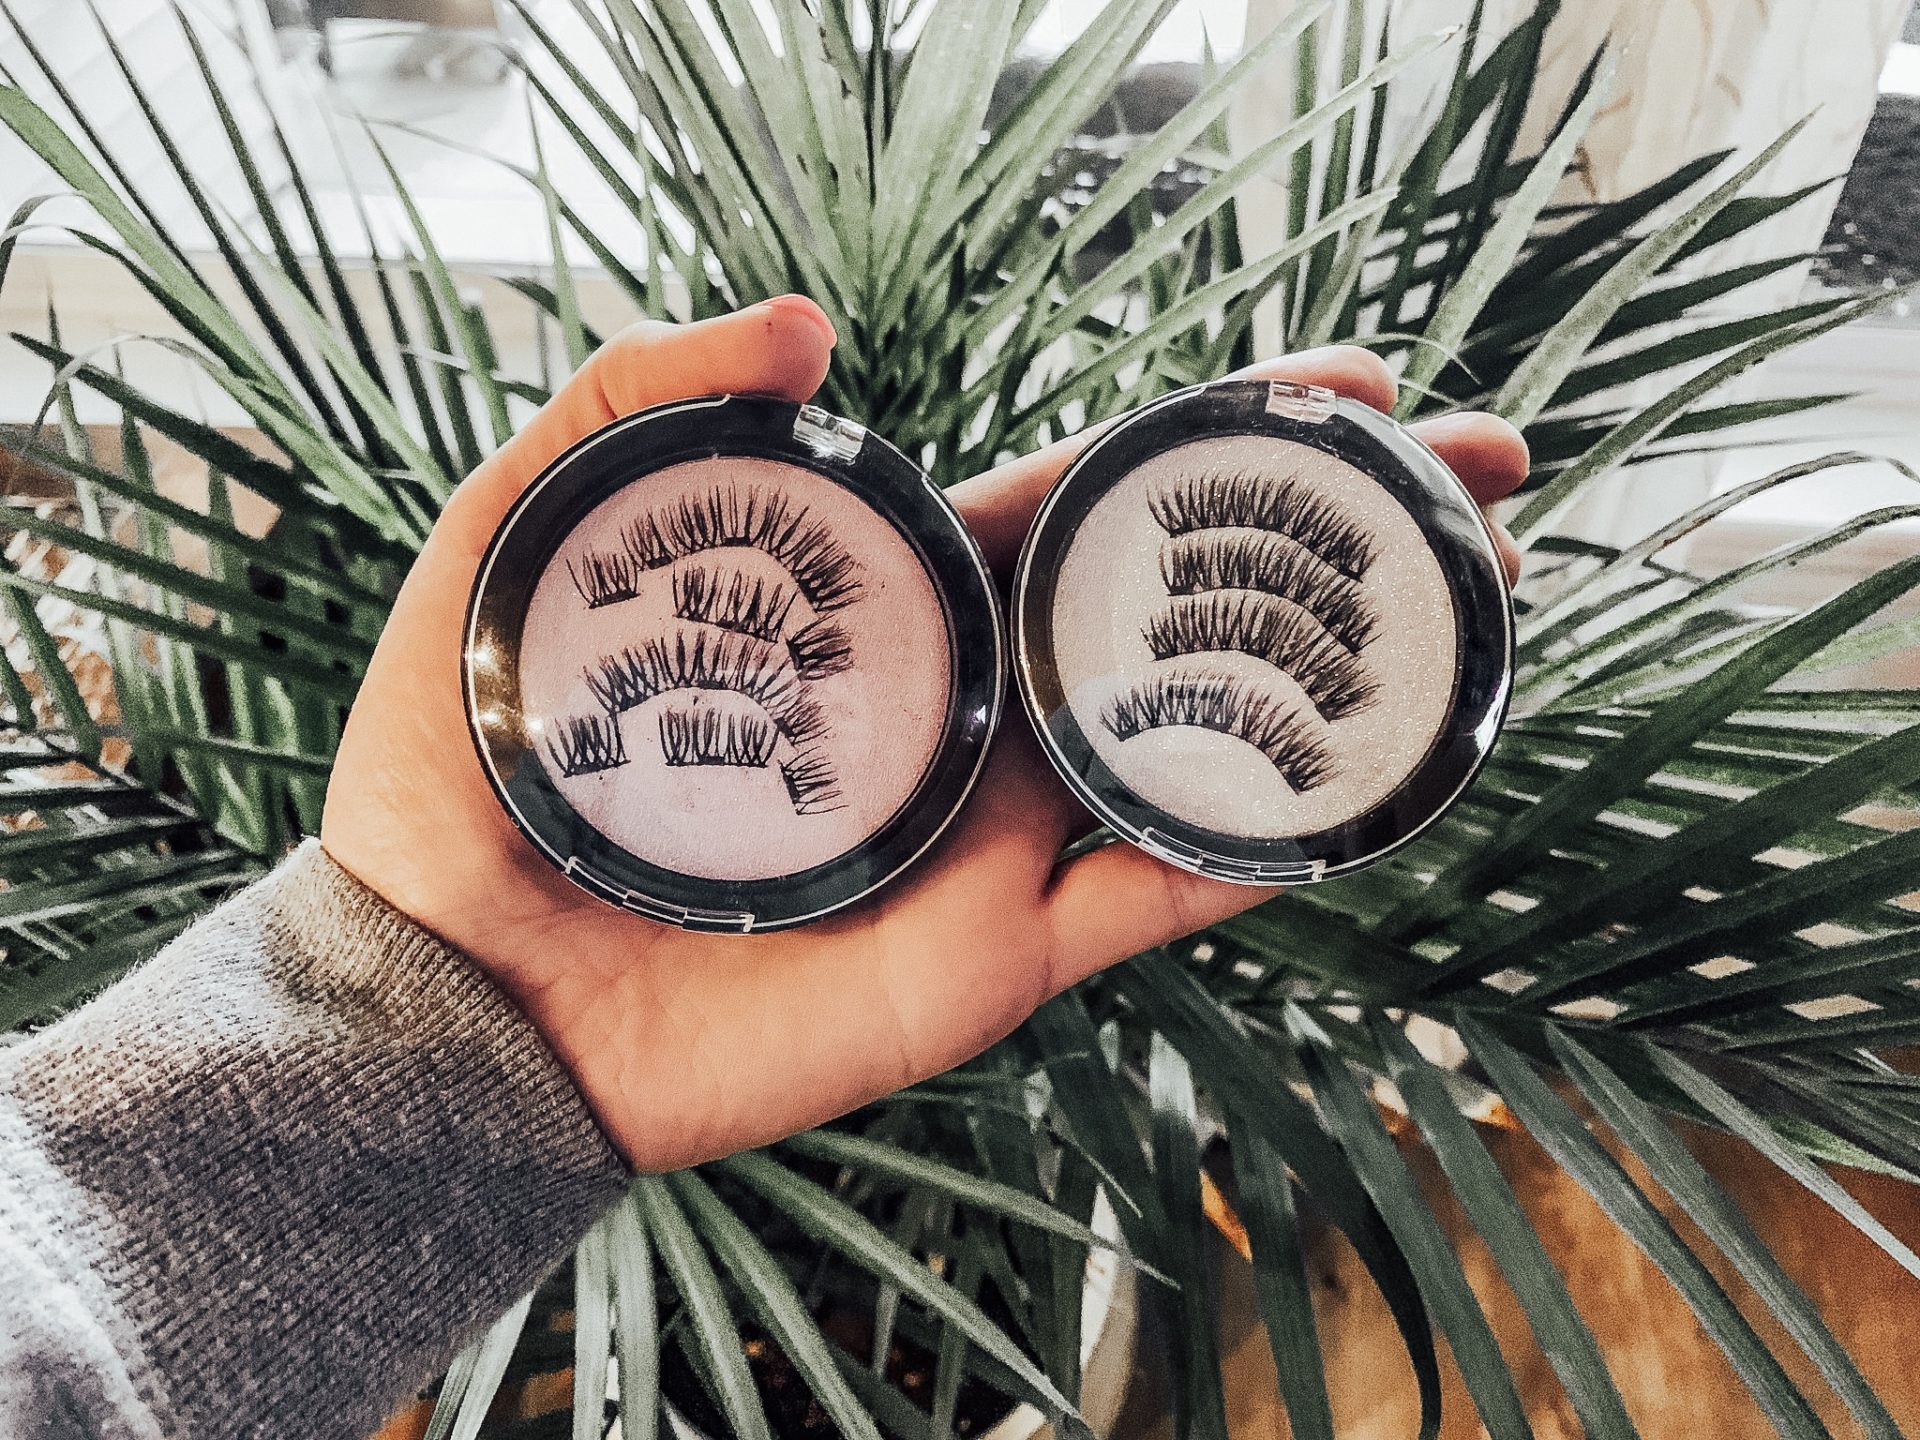
Magnetic Lashes Vs. Regular Lashes
I have always wanted to be able to wear false lashes but could never get the hang of applying them with glue. I would either apply too much or too little glue. Messing up multiple times and in the process my make up is ruined! One time I was so determined for them to stay I found the most permanent looking glue I could find at the store and low and behold, I finally got them on and they stayed! I was so happy until it was time to take them off and found that I had applied way too much glue. So much glue that I cried and panicked because these things had made a permanent residence on my face. They were never coming off! Multiple freak outs and runs to the store for solvent, they finally came off. And I was never EVER doing that to myself again.
What are the best magnetic lashes?
Once magnetic lashes made their debut I was excited to try them, to say the least. No glue and pretty lashes? Sign me up! I’ve heard horror story after horror story of women trying to apply magnetic lashes. Trying to get the two strips of magnets to line up seems nearly impossible! That’s because that is the hardest way to apply them. I have tried multiple brands and so far Silly George is on the top of my list. The Silly George dailies are my go-to.
There is one vital mistake every one makes and it’s the secret to making a flawless application every time.
IMPORTANT! This method can be used on any 3 magnet lashes. You do not want to try this application method with 2 magnet lashes.
How To Apply Silly George Magnetic Lashes
Things you will need:
- Lash tweezers ( regular ones will do, the least sharp the better)
- Scissors
- Good lighting!
How do magnetic lashes attach?
Working with these lashes can get frustrating in a quick hurry. Make sure you are in a well lit area free of tiny hands that could bump you. Get your lashes out and separate the top and bottom. ( you can identify the top because the magnets are underneath the lash, while the bottom lashes have the magnet on top). Magnetic lashes attach to each other by placing the placing the bottom magnetic lash under your natural lashes and the top magnetic lash on top of your magnetic lashes. They are held secure by holding onto your natural lash inbetween the magnets.
What are the easiest magnetic lashes to apply?
Magnetic lashes with 3-magnets are the easiest to apply in my experience. That’s because you can cut them and it makes it much easier to apply. When it comes to magnetic lashes, you get what you pay for. I’ve had great luck with Silly George magnetic lashes.
Discount code BEAUTYBYCATRINALYNN15 gets you 15% off all Silly George products at check out
How to cut magnetic lashes
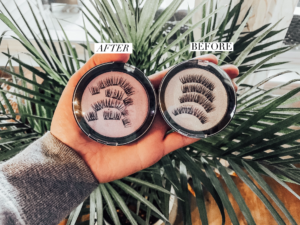
The lashes to the right is what your lashes will look like when you first buy them. And basically impossible to apply this way. The lashes to the left are what they look like after you cut them. Cutting them this way makes it so much easier to apply! You want the largest piece to be the middle piece and the inner corner and outer corner be smaller. I’ve found cutting them this way looks the most natural and hides the fact that they have been cut into thirds and are no longer a solid piece.
Do magnetic lashes stay on?
Yes! While I wouldn’t recommend wearing them for a swim, if you want to glam up for a night they are a great alternative to glue on false lashes.
Before you begin the application process, make sure you have a decent layer of mascara on your lashes. This ensures the best possible hold. If you have no mascara on, the lashes tend to slip off or shift. Get the top lash and set them on top of your lash. Make sure the outer corner matches with the outer corner of your eye. You don’t want to match it to the inner corner of your eye first and then have them not be long enough. ( you can always add extra mascara to the inner corner of your eye if they don’t reach all the way)
How to apply magnetic lashes
Click the link above if you’d like to watch the application process instead of read it.
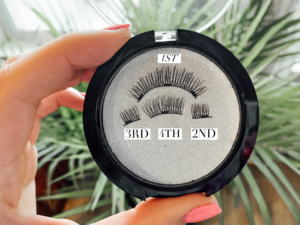
Start by placing the top lash on your lashes. Pick up the outer corner of the bottom lash with your tweezers and apply it to the outer corner of your eye. I like to grab the lash close to the base near the magnet for optimal control. The trick here is not to come at your eye with the magnet horizontal. You want the magnet to be vertical ( magnet pointing to the ceiling and not toward your eye) and move up to your eye in an upward motion. Pick up the lash with the tweezers and hold it eye level and look at it. Now turn your hand inward toward yourself, voila! Now the lash is in the right position.
The goal here is to get it as close to your natural lash line as possible. If you look and see a sizable gap, no fear! Place your fingers on the magnets and slide them horizontally to remove them. Don’t try and just pull them off. You’ll end up ruining your magnetic lashes in a quick hurry and potentially pulling out your own.
Next, you want to apply the inner corner. Applying them in this order ensures proper placement of the lash across the eye. After you have applied the inner corner, it’s time for the middle. Use the same technique as before and move your hand in an upward motion across your face. Don’t stress if you don’t get it properly placed right away. That’s what I love about magnetic lashes is you can try over and over! No need to worry about pesky glue drying or ruining your make up.
Application takes practice just like applying normal false lashes. Though I find the application process of magnetic lashes much easier. Magnetic lashes also last much longer with proper care.